How to Install your GUTA Monitor Fast and Easy
Hello dear readers, if you are here because you might have some doubts about the installation process of your GUTA tire pressure monitoring system.

Here you will be able to find the information explained in a different way so that you can understand it better.
You need initially be aware of a lot of things. As an illustration, consider the fact that your display may be powered both by solar energy and by the USB port in your automobile.
Additionally, the sensors already have a connection with the monitor. Therefore, pairing them yourself is not necessary.
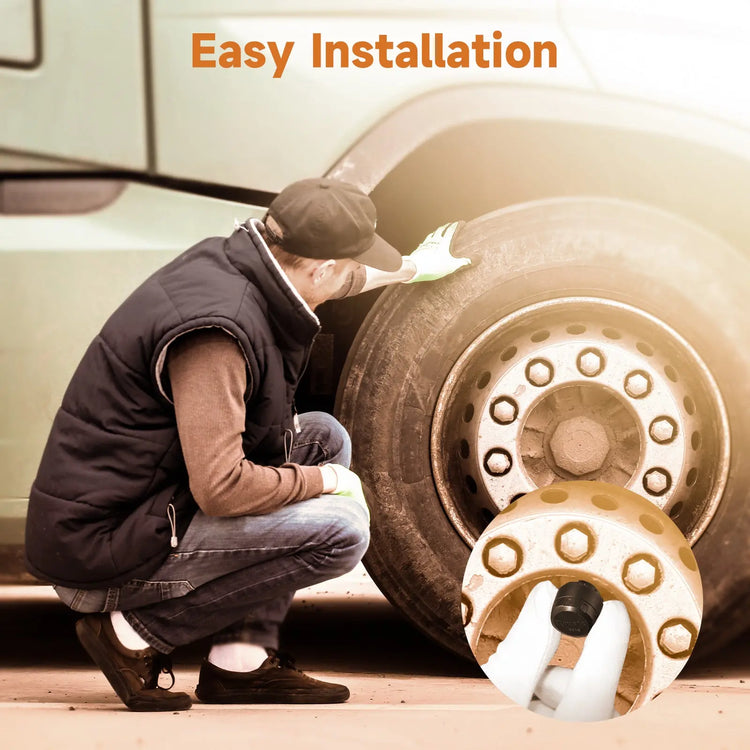
To get it fastened beautifully and steadily throughout installation, be sure to position it in the proper location using the sticky pad.
Make sure the monitor is charged prior to installation. The DC-DC converter is now ready for usage. It should be charged up to capacity before you allow it to continue receiving charges from the sun.
You can turn on and off the monitor manually to do so you only have to hold the SET button and the “+” button at the same time, this way you will turn on the monitor.
And to turn it off you will have to do the same procedure but with the SET and the “-“Button at the same time. You will only have to do this for one second in both cases.
Something that you must know is that the monitor shuts down automatically when the battery runs out and you should always check the battery percentage before using it to avoid the monitor from turning off and catching you off guard.
Now if you want to pair the sensors by yourself you can do it too, it is not difficult actually and you can easily do it, first, you must enter the standby mode and hold the “CODE” button for 3 seconds.
This should make you enter the Pairing Mode. The next part is easy as well since you will only have to place the sensor near the monitor and press “CODE” until you hear a “beep”.
Once you do this the monitor should display the current pressure value and the sensor ID and that Is it, to get to the next sensor you just have to press “CODE” until you hear another beep and it should take you back to standby mode.
I almost forgot, when you are pairing a sensor try to get the other one at least 1 foot away from the monitor since it could interfere with the signal resulting in the wrong pairing.

If you want to set up a new inflated code these are the steps that you should follow. First, you have to enter standby mode, once you are in standby mode you have to press the “CODE” button for 3 seconds, once you do this you can choose the sensor and the tire using the “+” button.
After this, the next step is to put a sensor onto a tire valve, this way the sensor will receive data from the tire and it will make a beep sound if you have made every step as I told you to a pressure value and the sensor ID should show up on the monitor, if you want to set a new code it can automatically be stored once you do this. And as I set before, to go back to standby mode you will have to press the “CODE” button again and that is it.
Also, if you started the process but for any reason did not finish, the monitor will automatically go back to standby mode after 1 minute of being nonoperative.
Now if you set a code and you want to erase it you will only have to go back to Coding mode, just press the “CODE” button again for 3 seconds, you have 2 options here to choose from, the first is to erase only one ID and the Second is to erase all the IDs.
To just erase one of the ID you will have to select the tire you want to erase using the “+” or “-“buttons, once you have chosen the tire you want to reset you will only have to press the “-“ button for 3 seconds and it should be erased.
Easy is it not? Well to erase all of the IDs and start from 0 you will have to do the same procedure but instead of choosing the tires one by one, you will only have to press the “-“button for 6 seconds and it should be as good as new.
I certainly hope that the methods that I showed you prove to be useful when installing your monitor on your own and if you need any other help, I will see you here in the next blog.